Goals
- Channels Channels Channels...
- Color and Channels
- Using the Data
- Results
- Rendering Layers
Resources
About Color
Color Type
"Before long, I'll have my own channel - I'll be like Barney." ~ David Hasselhoff
Color
Every image is made of a 2d grid of pixels. Each pixel represents a color value, and each color value represents a
brightness of red, green, and blue. Each color stores the brightness of it's
color in 8 bits of information, allowing the brightness values to range from 0 - 255.
Binary Review
Remember from the previous section that each bit represents a decision of 1 or 0, true or false. So if we have 8 bits
to represent red, green, and blue brightness, how many colors do we have?
(2 * 2 * 2 * 2 * 2 * 2 * 2 * 2) *
(2 * 2 * 2 * 2 * 2 * 2 * 2 * 2) *
(2 * 2 * 2 * 2 * 2 * 2 * 2 * 2) =
256 * 256 * 256 = 16,777,216 colors
Channels

The channels of a color are simply the red, green, and blue values. If you isolate only one channel, that's called separating.
Different channels will no doubt have different brightness values. This information can be very valuable.
Pixels are made up of red, green, blue. Each color is stored by 8 bits.
One color in an image is called a channel. Each channel will have different brightness values.
Using Channel Data - Examples
All of these examples create a simple 2d grid of Tile objects. Each Tile object represents a position and draws itself accordingly.
You can switch channels using the arrow keys to see the differences that will occur when changing the channel data.
Using Channel Data - Scale
The channel data is used to control the scale of the tiles.
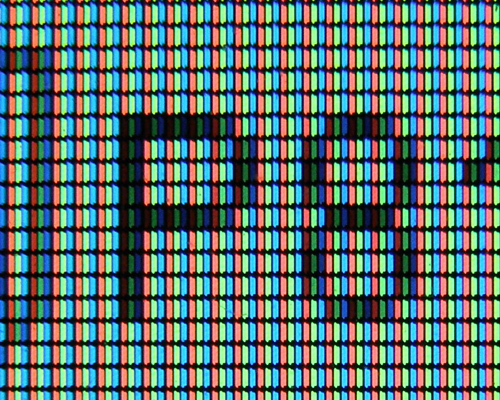
Using Channel Data - Font Scale
The channel data is used to control the font scale of some text that says, "CAT".
Using Channel Data - Rotation
The channel data is used to change the rotation of some lines.
Creating an Offscreen Buffer Object
Not everything in processing must be drawn directly to the screen. We also have the option of drawing to another
surface. This surface is called an offscreen buffer.
To set up a buffer we need to create an object of type PGraphics with global scope.
PGraphics canvas;
We name is canvas because we will draw on it.
Now we need to create our buffer so processing knows how much memory to allocate. In our setup we might write:
canvas = createGraphics(width, height, P2D);
Remember this should be after the size method has been called, since we're using the width and height reserved variables that
won't be set until after we've set the size of our window.
Also, notice the third argument "P2D" here. That's a rendering mode of processing that we need to tell processing we will be using.
It stands for Processing 2D. In theory we could have an offscreen 3D surface as well...
Rendering Offscreen
Now that we have our offscreen buffer setup we can start drawing to it. There are however a few extra steps to target this new buffer.
When we want to start using our buffer we must specify:
canvas.beginDraw();
And when we're finished with our buffer:
canvas.endDraw();
Also, every drawing command must be executed with the prefix of our buffer name:
canvas.background(255);
canvas.fill(255, 0, 0);
canvas.ellipse(0, 0, 20, 20);
All extra buffers should be declared with global scope.
Buffers take a lot of memory and are difficult to draw, try to limit your sketch size or the number of buffers
you will need.
Everything done with a buffer must use bufferName.beginDraw(), bufferName.endDraw(), and each draw command
in between should be prefixed with the bufferName.